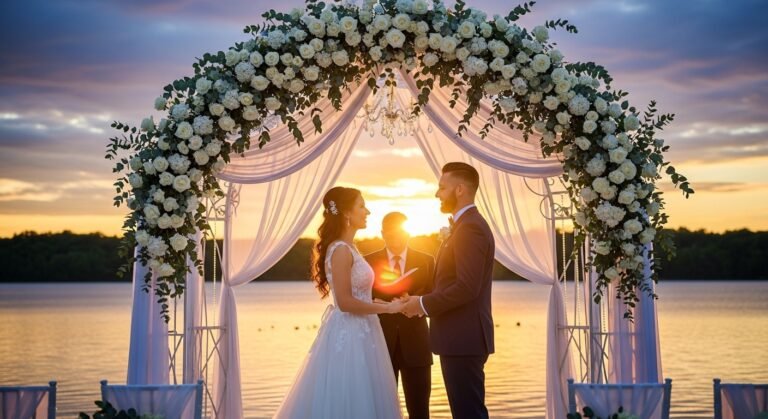


Your wedding day is a celebration of your unique love story, and every detail should reflect your personality and style. Among these details, wedding signage serves as both functional guidance and decorative elements that tie your entire theme together. From welcoming guests to directing them through the events of the day, well-designed signs enhance the guest experience while adding personalized charm to your celebration. While custom-made signs can quickly drain your wedding budget, creating your own DIY wedding sign offers a cost-effective alternative that doesn’t compromise on style or impact.
For those looking to incorporate modern technology into their wedding planning, consider using an AI Wedding Sign generator to create professional-looking designs without the professional price tag. These innovative tools allow you to input your text and select from various design styles, generating print-ready files in minutes that you can then transfer to your chosen materials. This approach combines the convenience of technology with the satisfaction of handmade creation.
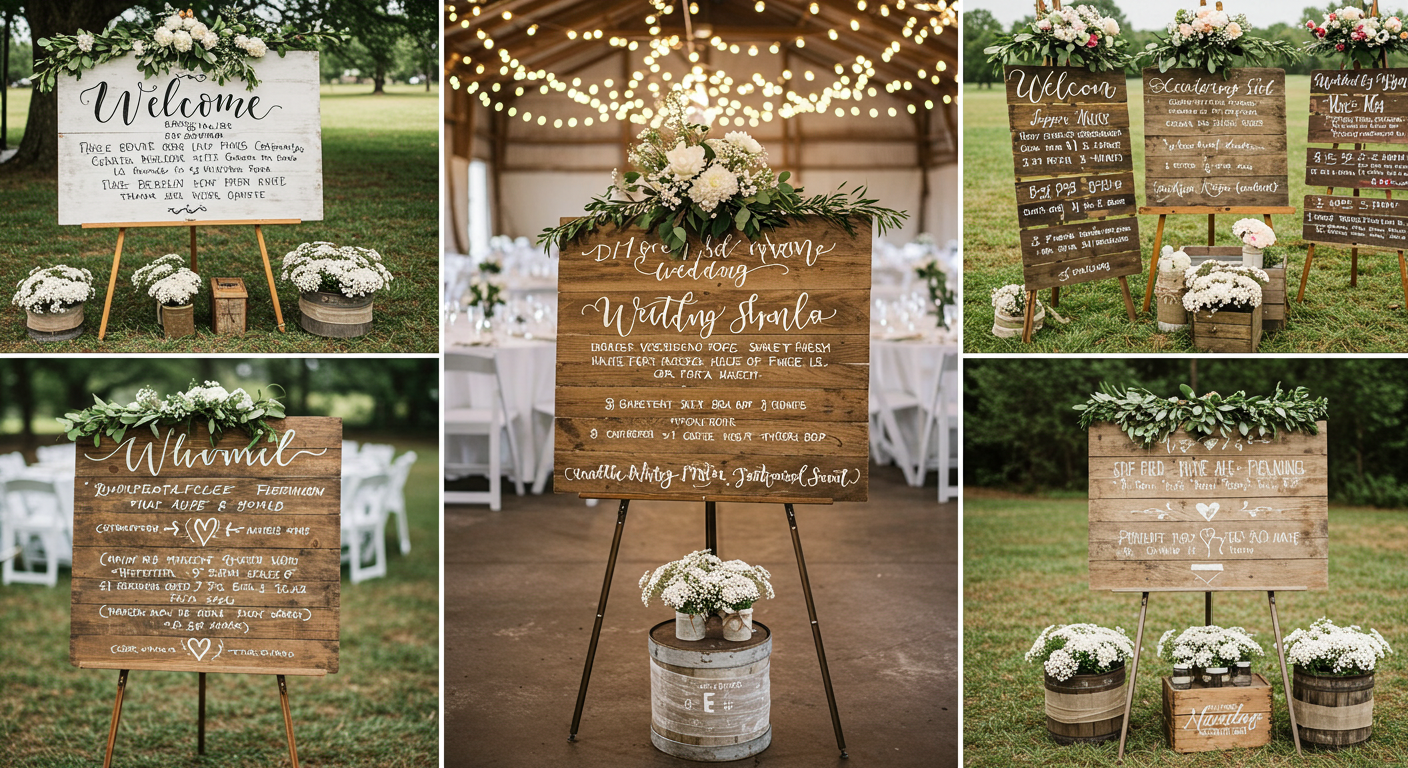
Planning Your DIY Wedding Signs
Before diving into creation, careful planning ensures your DIY signage project stays organized and budget-friendly. Start by determining your sign needs based on your venue layout and wedding schedule. Essential signs typically include a welcome sign, ceremony program, seating chart, reception timeline, menu, and directional signs for key areas like the guest book, gift table, and photo booth. According to wedding experts, focusing on simple, elegant designs that align with your skill level and overall wedding theme often creates the most impactful results.
When planning your signs, consider the size and visibility of each piece. As one wedding planner notes, “Table numbers can seem easy, but unless they’re 5×7 inches and the number is prominent, they can be easily lost in a busy tablescape” . Create a sizing guide for each sign based on its purpose and location, ensuring important information is easily readable from appropriate distances. Additionally, establish design consistency by selecting a color palette, font combination, and decorative elements that complement your wedding theme before beginning any physical creation.
Budget-Friendly Material Sources
The secret to stunning DIY wedding signs on a budget lies in creative material sourcing rather than expensive purchases. Thrift stores and secondhand markets offer incredible finds that can be transformed into beautiful signage. Look for large picture frames, vintage windows, mirrors, and old room dividers that can be repurposed as sign bases . These items often cost a fraction of new materials and add character and charm that perfectly suit rustic, vintage, or bohemian wedding themes.
Natural and repurposed materials provide another affordable option. Reclaimed wood, pallets, stones, and slices of tree trunks make excellent bases for signs with organic appeal . For couples with limited time or crafting skills, pre-made components like clear sign holders, acrylic sheets, or wooden boards from craft stores offer convenient alternatives. If you’re creating multiple signs, consider buying materials in bulk to reduce costs, and watch for sales at local craft stores leading up to your project time.
Design and Execution Techniques
Digital Design Tools
For those less confident in their hand-lettering abilities, digital tools provide professional-looking results without the stress. Websites like AI Wedding Sign Generator offer customizable templates that allow you to create polished designs in minutes . Once you’ve created your design, you can print it at home or through a local print shop and transfer it to your chosen sign base using various methods. If you have access to a Cricut or Silhouette cutting machine, you can create custom vinyl decals that adhere perfectly to wood, acrylic, glass, or mirror surfaces.
Hand-Lettering Methods
If you prefer handcrafted authenticity, several techniques can help you achieve beautiful results without calligraphy experience. Chalkboard paint transforms any surface into a writable area where you can create charming signs with chalk markers . For more permanent results, paint pens on dark wood or acrylic surfaces create elegant contrast. If you’re nervous about writing directly on your sign base, practice your layout on paper first, or use the pencil transfer method: print your design in reverse, shade the back with pencil, tape it to your sign, and trace over the letters to transfer the graphite.
Design Alignment and Spacing
Regardless of your method, proper alignment and spacing are crucial for professional-looking results. Use a ruler and light pencil marks to create guidelines before adding your final lettering. For centered text, find the middle of your sign and work outward in both directions. Step back frequently to view your work from a distance, ensuring readability and balanced composition. Remember that less is often more with wedding signage—clear, concise messages with adequate white space appear more elegant and are easier for guests to read quickly.
Assembly and Display Ideas
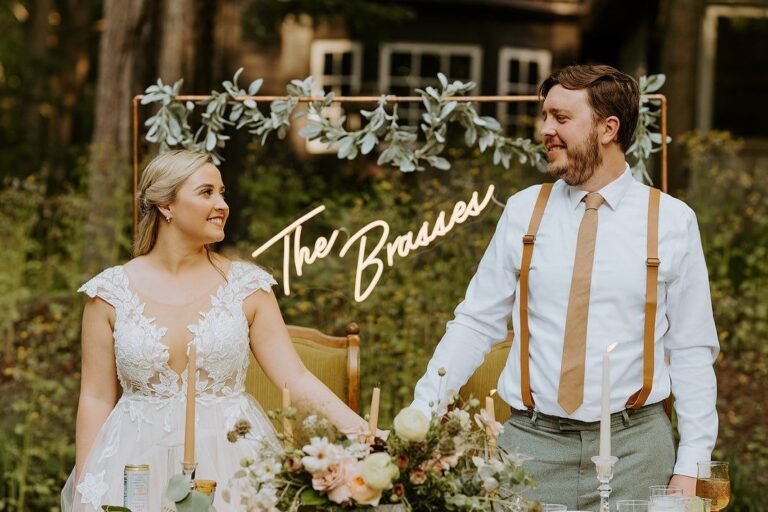
Once your signs are designed and created, thoughtful assembly and display methods enhance their overall impact. For standing signs, simple easels available at craft stores provide straightforward solutions . For a more creative approach, consider copper pipe holders for modern weddings, upcycled art easels for rustic charm, or natural branches tied together for bohemian celebrations . If your venue allows, you can hang signs from trees, archways, or shepherd’s hooks placed along pathways.
Multi-purpose signs offer excellent value for budget-conscious couples. A beautiful mirror sign can serve as both ceremony decoration and a functional household item after the wedding . Similarly, signs painted on materials like slate or natural wood can be repurposed as home decor following your celebration. When assembling your signs, consider weather conditions for outdoor weddings—ensure materials are waterproofed if necessary, and have backup plans for windy conditions that might topple standing displays.
Final Tips for Success
- Start early: DIY projects often take longer than expected, so begin working on your signs well in advance to avoid last-minute stress .
- Assign setup: Designate someone to deliver and arrange your signs on the wedding day so you don’t have to worry about it .
- Embrace imperfections: Minor flaws add character and charm to DIY signs—don’t strive for sterile perfection .
- Prioritize readability: Fancy scripts are beautiful, but ensure essential information is clear and easy to read from appropriate distances.
- Have fun: Enjoy the creative process—these signs are expressions of your love and personality as a couple.
Creating your own wedding signs isn’t just about saving money—it’s about infusing personal meaning into the details of your celebration. The effort you put into handcrafting these elements adds emotional significance that guests will sense and appreciate. Whether you choose high-tech design methods or traditional hand-lettering techniques, your DIY wedding signs will serve as cherished mementos long after your celebration ends. By combining creativity with smart budgeting strategies, you can create stunning signage that enhances your wedding aesthetic without compromising your financial goals.
Remember that the most memorable wedding details are those that reflect your unique story and personalities as a couple. Don’t be afraid to think outside the traditional sign box—incorporate inside jokes, meaningful quotes, or design elements that represent shared interests. These personal touches transform functional signage into heartfelt expressions of your relationship that guests will remember long after other details fade. With careful planning, creative sourcing, and a willingness to embrace the DIY process, you can create beautiful wedding signs that look far more expensive than they actually were—leaving more budget for other important aspects of your celebration.